It All Got Started…

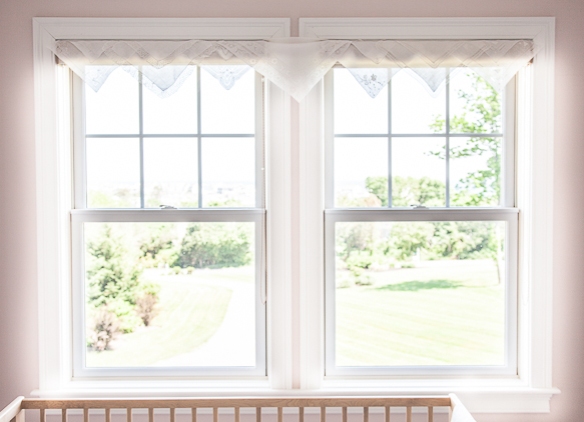
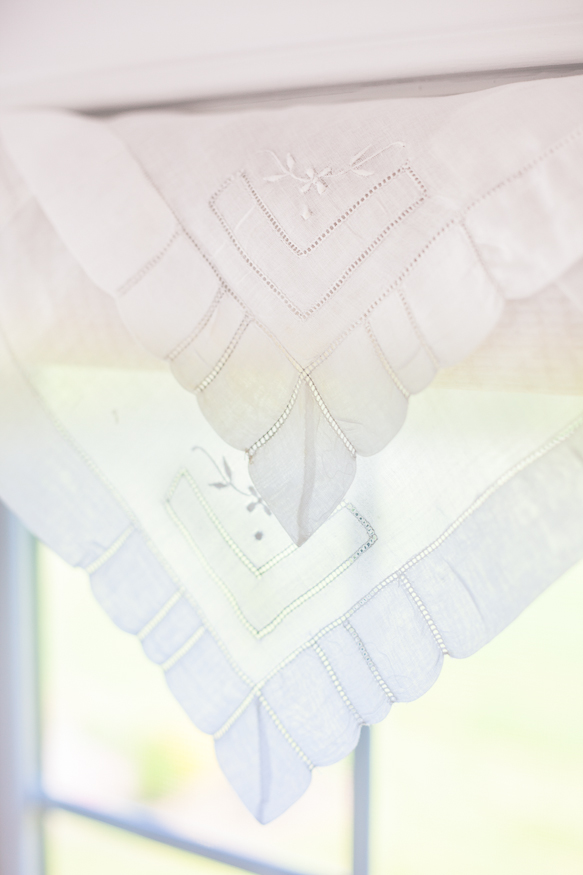
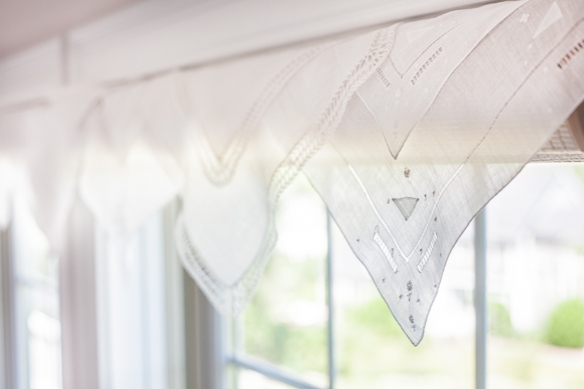
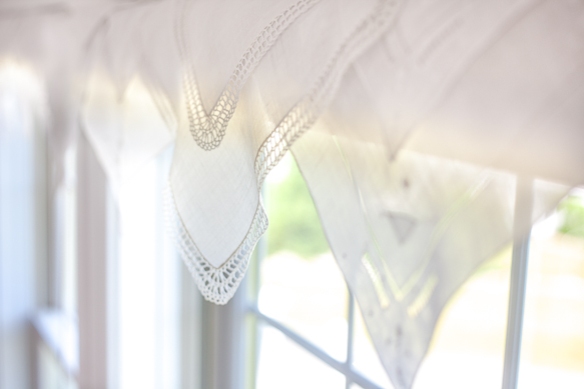
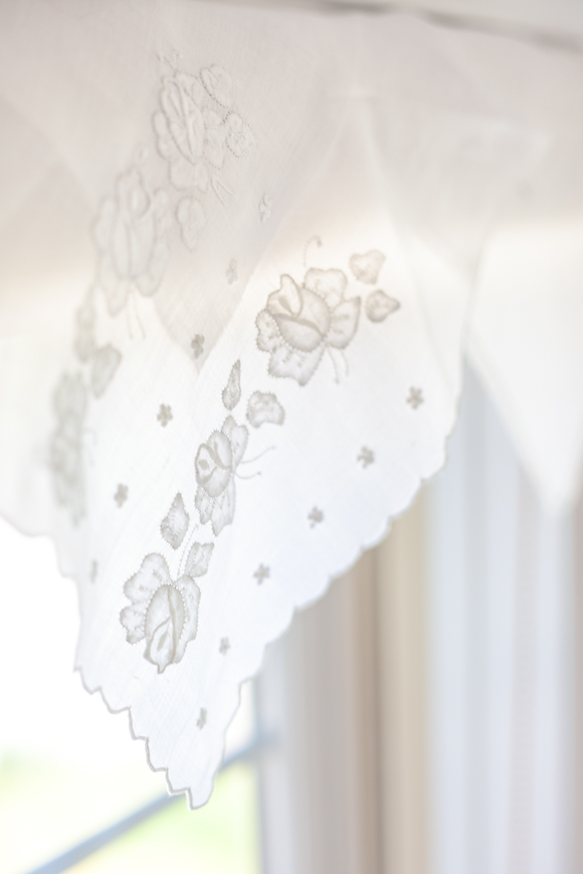
…when I hung some curtains, well, I suppose, they are sheers. Well, they’re not exactly sheers either… they’re cotton swiss dot… uh… things to hang in a window that prevents everyone driving by from looking in when your daughters are putting on yet another two hour dance show. And now I’m in the throes of moving things all over the house.

The Sheers or Something

But we started with window coverings. And look! It worked! Privacy that doesn’t exclude the pretty, pretty light! Unfortunately, all that nice, filtered, soft light made it obvious the rest of the room needed some work. Or maybe it was all the piles of stuff in the shelf and under and beside the bed that I had managed to ignore before that sent me over the edge.

Old Bed Arrangement

Old Dresser Position

We’ve shifted the girls around a bit in the past few months, to try to align sleeping with room arrangements, one moving into her own room and the baby into a new room and a new bed. It’s been going… uh… it’s been going… hmm. I guess it’s been going. Eventually we want all the girls to be in the same room, but we couldn’t quite wrap our head around how to arrange the beds. with all the windows and doors. So I decided I would try to fit a bed where the dresser was, and move the dresser in front of the window.

Dresser in Window

It was feeling a bit cramped. But I persevered!

And yes, before we go any further, you’re right, there is a significant amount (nearly all of it) of IKEA furniture and other fixin’s in here. Ah… IKEA… we have flipped and flopped with our decisions to add more of their products in our home. I think it will likely always be a mix of their pieces and old vintage flea market finds for us; IKEA is practical, their manufacturing processes are economical, and their environmental practices are a far cry above others, and honestly, you pay the right price for what you’re getting. I find most furniture stores offering similar quality pieces for a significant percentage more and paying all that money for something the kids will only need/use/want for a few years boggles my mind.

Flipped Around

But back to the arrangements, I surprisingly liked putting the beds in front of the window, flipping them with the dresser, the pushing the youngest’s bed closest to the wall. And now it’s obvious the third bed can easily fit!

Different Angle

The Rug

All the past week (I started with a bang, then the schedule overtook us all) making changes in the room, organizing the stack, tossing out things that were beyond broken or were no longer useful, moving furniture from other parts of the house, refinishing some pieces, dusting everything and scrubbing baseboards, packing up small clothing sizes out and bringing in things that fits… there has been a lot of work here, but it’s still not done. I’ll show you more as things settle and plans are made.

One thing that’s absolutely certain? This rug has gotta go! I think I’m going to sell it, but NOT to someone who has small children who enjoy legos. Or beads. Or playmobile… or anything small, plastic or wood, with sharp or pointy edges. Well, not unless they sign a waiver. Stepping across this rug in bare feet is both brave and stupid… and I don’t want to be held liable for someone else’s pain and suffering.

Yeah, it started with the sheers, and now I’m knee deep in the thick of it all over the house. Hopefully I can dig my way back out this week!

The Baby’s Room :: Dressing the Windows

I’m making progress, one slow little baby step at a time, on the littlest one’s room. I’d really like to have it “done” by the end of the week, but the more time I spend in there, the more ideas I come up with, which isn’t helping with the whole let’s get it done mentality.

One of the things I worked on this weekend was dressing up her bare naked windows.

Bare Naked Blinds

How do you feel about window coverings? There were sheers and curtains on nearly every window in each room in the house when I was growing up. And my mom still feels like a window without a curtain is pretty close to a criminal act. But I’ve got to tell you, here in this house, we hate the though of covering any little bit of the view out of ours. It might have something to do with how dark our first house was and how light-starved we felt, or possibly it’s how sometimes we have to pinch ourselves just to make sure that view is real life, or maybe it’s just that I’m too cheap to buy large swaths of fabric that do so very little other than look nice. I do have to admit there are certain windows that needs some sort of privacy covering (bathroom, anybody?), but I still have trouble finding anything I want to put up.

Whatever the reason for our window covering hesitation, we were incredibly thankful that the previous owners had installed room-darkening roller blinds on all the bedroom windows. Our kids go down incredibly early every night (5 pm for the baby and 6.30 for the older kids) and those room darkening shades certainly help in the spring and summer months when there is more light in the evening. I have to tell you, I am not so enamored with the brown/tan/taupe material used to make each one. The good thing is, when they’re down, it’s too dark to see them, and when they’re rolled up, you see only the tiny bit of the topper. But, those few inches really aggravated me.

I had a little idea, and thanks to ebay, a little box arrived in the mail a few days later. I found a sweet lot of delicate white handkerchiefs, which I thought would work nicely laid across the valance (how do you pronounce this… VALance or vaLANCE?) helping me achieving the vintage feel I’m trying to create in the room.

Handkerchiefs

When I opened the box, I caught the faint scent of a delicate perfume. The handkerchiefs themselves were in beautiful condition and the handwork blew me away. Tiny little knots, crocheted lace, hemstitching, embroidered details, super fine fabric; all of it reminiscent of another, more genteel time.

Not So Naked Anymore

I’m happy to report that this idea came together very easily and just as I imagined. The fabric is so airy light it is very nearly transparent.

Little Details

All those beautiful details are even more pronounced when the sunlight filters through and it doesn’t feel like we are blocking any of our spectacular sea view.

Hemstiched

Handkerchief Valance

Beautiful Hand Embroidery

The best thing about this? It is completely no-sew. They are simply folded and tucked into the crevice between the topper and the window frame. And when they get dusty? I can just give them a little tug and throw them into the washing machine.

Beautiful Borders

Such Detail

Crocheted Edge

They cover that rather indelicate brown/taupe/tan valance with just a hint of girliness.

Quite the View

Well, that was pretty easy! Now, onto a few more changes before the week is out!

The Baby’s Room :: The Dresser

A few weeks ago, the baby turned two. I took this as a sign that I really should get moving on finishing her room, you know, before my husband takes it over as his office sometime in the next few months. A few weeks before her birthday, the dresser we bought from IKEA met an untimely and unfortunate death (well, at least the bottom drawer did) which has had a rather devastating waterfall effect on the state of her room. If there’s no place to put the clothes, they stay in baskets, until she decides it’s time to empty said baskets of course. It was time to get things cleaned up.

Enter this lovely.

Naked

A friend of mine has been moving her house around and decided to get rid of a few pieces, this one included.

Dresser Before

The dresser was a tad dusty, the top had a bit of water damage, and needed just a tiny bit of TLC, but otherwise, it was a beautiful piece. So I got out my sander, some paint and wax, and this is what I came up with.

The Dresser

It fits in the corner perfectly, and since the side panel is the view I see from my perch on the rocking chair I decided it need just a little touch of something extra…

Side View

a touch of hand-painted pattern, wiped away and slightly distressed.

Top Corner

I was hoping it would look a bit like old and faded wallpaper. I have to say I’m pretty happy with the result.

Pattern Detail

It was a bit gut-wrenching to go at the pattern with a wet cloth and sand paper, but I went slowly as I built up my courage, and I think the end result was worth the distress.

Dresser Front

The front panels of the dresser seemed to be in pretty good shape, but was feeling a bit rough. I can not believe what a difference 320 grit paper and some dark wax made. I tried the Howard Restore-A-Finish, but I have to say it was the dark wax that made the biggest difference.

Bottom Corner

I painted an undercoat of Annie Sloan’s Duck Egg Blue, touched it up in a few places in with a bit of petroleum wax, then painted a top coat of Annie Sloan’s Provence Blue. A bit of sanding, the pattern painted on top, then a coat of clear wax and a few touches of dark wax to age it ever so slightly.

Dresser Top

The top was sanded down to bare wood, then stained with two different colors of minwax Sedona and Mahogany Red (straight up stain without the poly) with two or three light and buffed coats of dark wax. It’s hard to describe just how much the new top glows.

Booties

And last but not least, the pair of teeny tiny booties I knit for her, which evidently, I have forgotten to write about. You’ll see the sweater in a later post about her room, once I finish up another wall.

Boy I hope I get this room finished up soon!

.

.

.

.

Have you visited these awesome sites where I’ve shared this project?  ::  Miss Mustard Seed  ::  The Shabby Creek Cottage  ::  The Handmade Home  ::  Funky Junk Interiors  ::  Finding Silver Pennies  ::  Under the Table and Dreaming  ::  Today’s Creative Blog

Half Bath Project :: A Little Painting Here and There

Some Color

It’s called Royal Fuschia, a shade by Benjamin Moore. But really, everytime I looked at it, I couldn’t help but to sing Raspberry Beret.

Rollin Rollin Rollin

It’s quite shocking, isn’t it? I mean, who paints magenta in a bathroom these days?

Raspberry Beret or Royal Fuschia

But paint it I did, and three people walked into the bathroom and never noticed it until after I pointed it out.

Really Bright

You see, it’s on the ceiling.

Tomorrow… the trim!

Half Bath Project :: The Floor

Once we—and by “we” I specifically mean my dad, under my awesome leadership (read, picture taking)—got the old tiles up and moved on out, it was time to move on to more exciting thing, specifically, laying the new Carrara marble pinwheel tiles.

Spacers

I have had my eye on several different types of mosaic patterned tiles (links to my pinterest board) for a while, but it wasn’t until I saw these was taking my daughter back to the bathroom in Lowes—just a chance encounter—until I knew the pinwheel pattern would be perfect. And I knew this is what we needed on our half bath floor. I originally wanted to do white hex tile; it’s classic, timeless, easy to assimilate to most color palettes. But this? This made those hex tile look like Mom jeans, comfortable but lacking in sass and style.

The Whole Floor

No Grout Floor

No mom jeans here on this floor!

The next part was a little scary… the grey grout. Doesn’t look grey so much as black, does it? I wanted grey grout because white grout is too finicky for me and requires too many layers of sealant reapplied too often and way too much scrubbing in order to stay white.

Grout Grout Baby

And if you thought mixing it was scary, putting it on the floor was even more so.

Scary

Eek! I had to walk away at this point!

Absolutely Terrifying

But in the end, of course, it all worked out.

Finished Floor

Tomorrow, we can discuss paint and trim, well, if I get the trim up. It was supposed to be done last week, but we’ve fought a few rounds of the latest stomach bug with the kids for the past five days, so things got a bit derailed.

I promise you though… it’s nothing like mom jeans.

+

+

+

:: Linking Up to ::
Young House Love, Bower Power

Half Bath Project :: Blank, er, Yellow Slate

There’s been a project a-brewing here for quite some time.

Plain Jane

The first floor half bath.

Good Bones

I guess, really, there wasn’t anything particularly wrong with it per se, but to me, it was just so plain jane. It had good bones but the wall color was off-putting (nothing like looking sallow morning, noon, and night), the floor tile was quite limiting in terms of palette choices, and overall it was just a bit, hrm, blah?

Horrid Floor

And honestly, that floor drove me crazy. In the last house I wanted to put up a glass tile wall, and I thought maybe I would do the same here, but anything that I picked out that fit the budget crashed and burned when put next to that tile. This is one room I’ve been thinking about updating since we moved in, but I couldn’t figure out what direction I wanted to take it in. Nothing really jumped out at me, shook my hand and said “Yes, thank you, I’m coming home with you.”

Then, while browsing around on the internet, I saw this wallpaper, and completely fell in love. Suddenly I knew exactly what I wanted to do with the room, what the floor would look like, accent colors, everything. It all fell into place.

And, uh, then I saw the price per roll, per 15 foot roll! Yeah, um, that’s not going to happen.   Sigh, back to the drawing board, at least for the walls, but the colors and accents and flooring were still workable. So, I bought the supplies, called my trusty handyman, and got started. We would’ve started a bit earlier, but there was a blizzard and three days without power, and blah blah blah.

Peek at Pappy

Personal Labor Force

And here’s my handyman, otherwise known as Pappy, my Dad, Tom.

Magical Air Chisel

Pappy brought his magical air chisel…

Easy Clean Up

…which made getting the old floor up and the mortar chipped away a breeze.

Half Hour Later

It took a half hour to get the tiles up, the mortar off, and the whole thing swept and ready to go.

Of course I made it sound all simple and easy-peasy, but the truth of the matter is that  we had to put up the blankets we just took down to keep the dust out of the rest of the house, it took over and hour and quite a few under-the breathe curse words (from my husband, not me!) to get the sink off of the wall, and having all the stuff in the hallway completely disrupted our flow for the week.

Hubby Hate Chaos

Not such a bad price to pay or a new bathroom, but I do not think my husband would agree. He is not a happy DIY’er.

But maybe he’ll forget all his pain in another few weeks, because I have a few more projects up my sleeve!